Photography, at its core, is the art of capturing moments in time. It’s a dance between light and shadow, an interplay of elements that shape the visual narrative. In this extensive guide, we will delve deep into the captivating world of natural light photography, leaving no stone unturned. Whether you’re a novice seeking to harness the magic of light or a seasoned professional looking to refine your skills, this comprehensive exploration will equip you with the knowledge and techniques needed to elevate your craft.
1. Understanding Natural Light
What is Natural Light in Photography?
Natural light, in the realm of photography, is the ambient illumination bestowed upon us by the sun, the moon, or other celestial bodies. It’s the light that exists in the environment, embracing scenes in a soft, authentic embrace. It’s the polar opposite of artificial lighting, eschewing the use of flashes or studio setups.

The Art of Natural Light Photography
Natural light photography is an enchanting dance with the sun, a collaboration between the photographer and the cosmos. It’s the practice of using the light that surrounds us, primarily from the sun, to illuminate photographs. This art isn’t confined to DSLRs or professional gear; it extends to the pocket-sized powerhouses in our pockets, our smartphones. It’s about harnessing the purest source of light.
2. Camera Settings for Natural Light
Adjusting Your Camera’s Settings
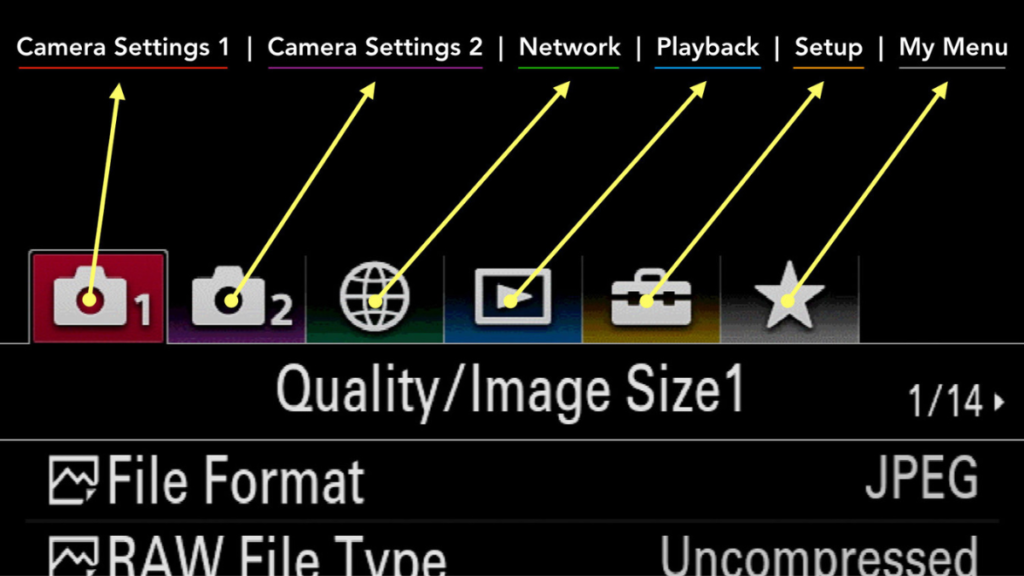
Once the stage is set by the environment, it’s time to fine-tune your camera settings, making them harmonize with the available light. Manual mode on your DSLR is your passport to creative control. Unlike other modes, manual hands you the reins, letting you craft the shot precisely as you envision it.
Here are the key settings you must master for natural light photography:
– ISO: Adjusting this setting affects your camera’s sensitivity to light.
– Aperture: This setting regulates the size of the lens opening, impacting depth of field.
– Shutter speed: It determines how long the camera’s sensor is exposed to light.
Pro Tip: In ample natural light, abstain from using a flash as it can overexpose your photos. Additionally, invest in a sturdy tripod to combat blurry images, especially in low light conditions.
3. Selecting the Right Lighting
Ensuring You’re Shooting in the Right Light
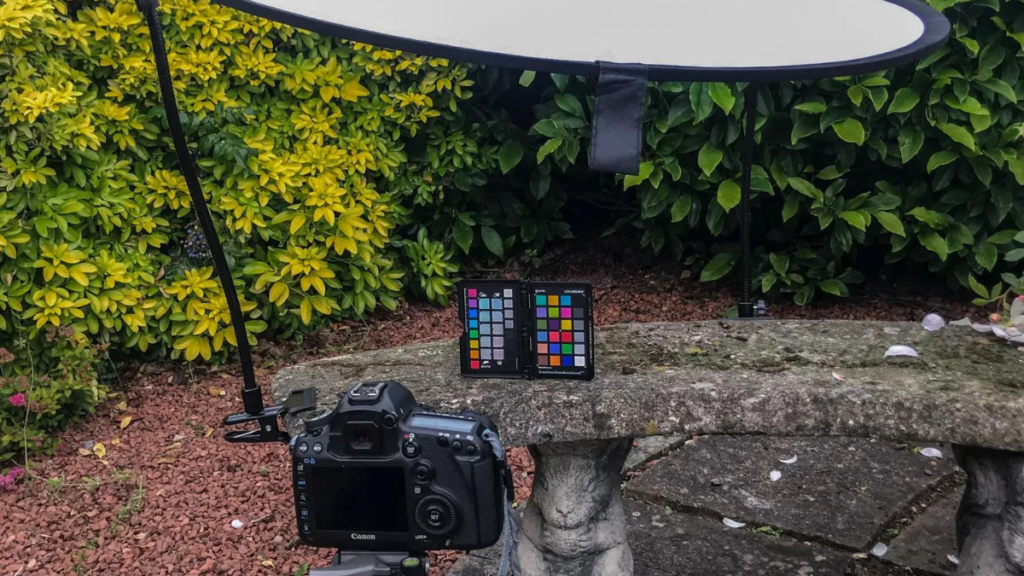
Choosing the right kind of natural light is like selecting the perfect brush for a painting. The type of light can dramatically affect the mood, atmosphere, and overall quality of your photographs.
Some optimal lighting conditions to consider:
– Open Shade: Seek out areas where your subject is sheltered but still bathed in soft, diffused light. Think under overhangs, beneath trees, or within the gentle embrace of doorways and windows.
– Golden Hour: The hour after sunrise and before sunset gifts photographers with warm, golden light. This is the time when shadows elongate, and everything is imbued with a touch of magic.
– Overcast Light: Cloudy skies act as a natural diffuser, softening the harshness of direct sunlight and delivering flattering, even illumination.
Avoid shooting during bright, midday sunlight, as it can cast harsh, unflattering shadows and cause your subjects to squint uncomfortably.
4. Enhancing Natural Light with Accessories
Utilizing a Reflector
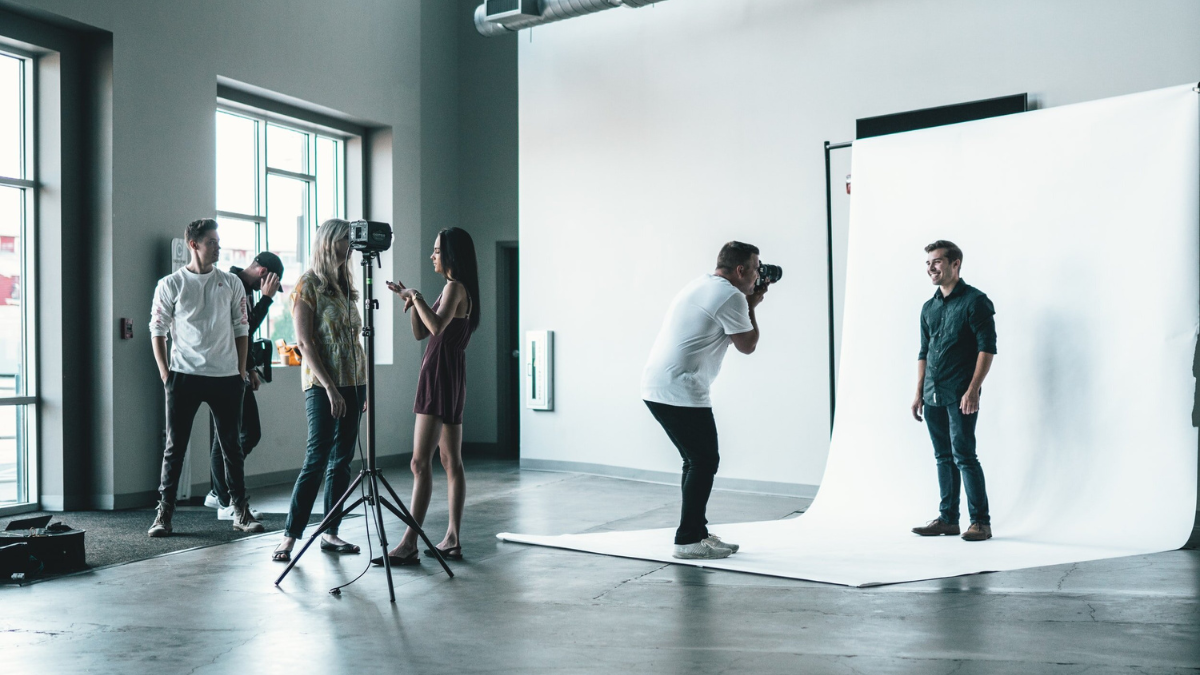
In the previous section, we mentioned reflectors as handy tools for mitigating harsh shadows in your shots. However, their value extends far beyond mere utility. A reflector is your artistic ally, your wizardry wand for crafting light.
Reflectors are surfaces that bounce light back onto your subject, thereby softening shadows and brightening the entire scene. While you can find natural reflectors in your surroundings, like white walls or sandy beaches, dedicated photography reflectors are invaluable additions to your kit.
5. Capturing Atmosphere
Making Displays to Highlight Auras
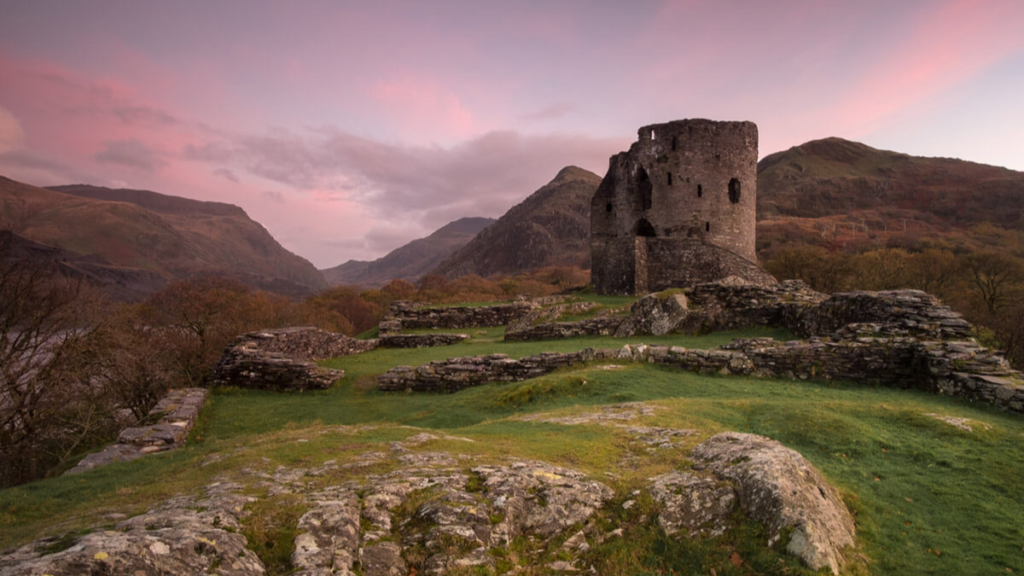
Natural light has an uncanny ability to breathe life into the environment, to infuse it with mood and atmosphere. Yet, capturing a subject and its surroundings in a single frame can be a challenge. Enter panoramic photography.
The panorama technique involves taking multiple shots of a scene and then seamlessly stitching them together during post-processing. The result is a wide, encompassing view that not only showcases your subject but also immerses them in their surroundings.
Searching for Eye-Grabbing Backgrounds
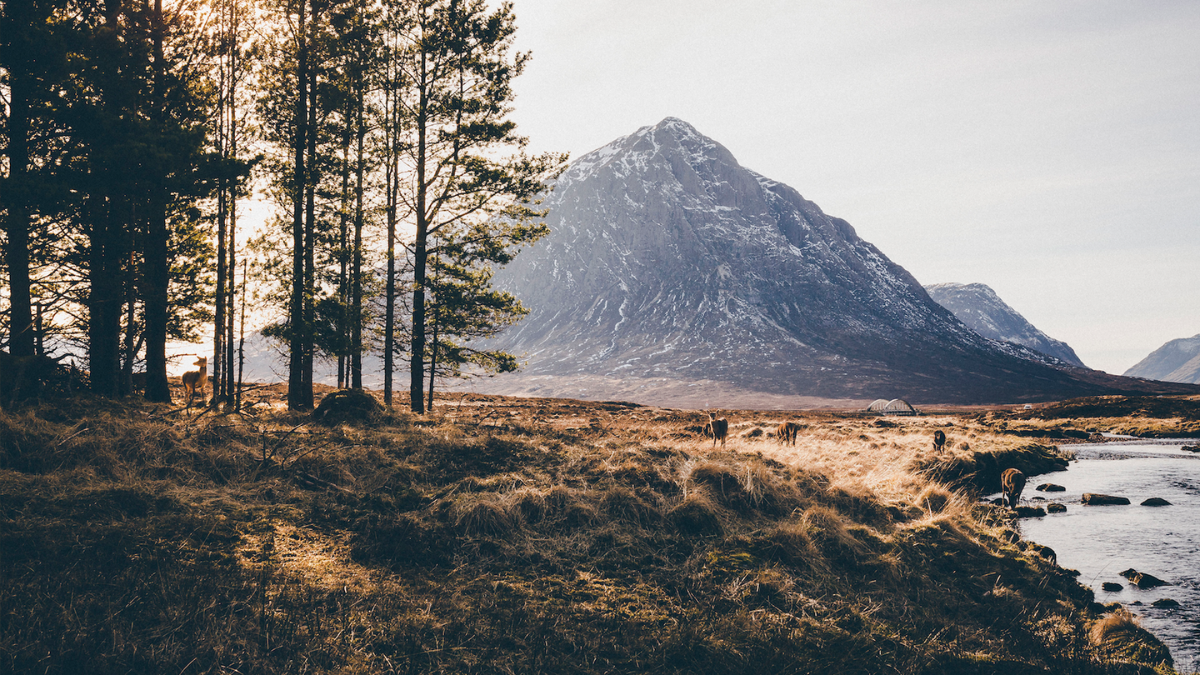
Backgrounds are the canvas upon which your subject is painted. They can either enhance or detract from the story you’re trying to tell. When choosing a background, consider your subject’s appearance, attire, and the emotions you want to convey.
If you lack a specific vision, look for backgrounds with captivating colours or textures. Often, the best backgrounds for natural light portraits are a harmonious blend of beautiful hues.
6. Timing Your Shots
Knowing When to Shoot
In the world of natural light photography, timing is everything. The quality of light can vary dramatically depending on the time of day.
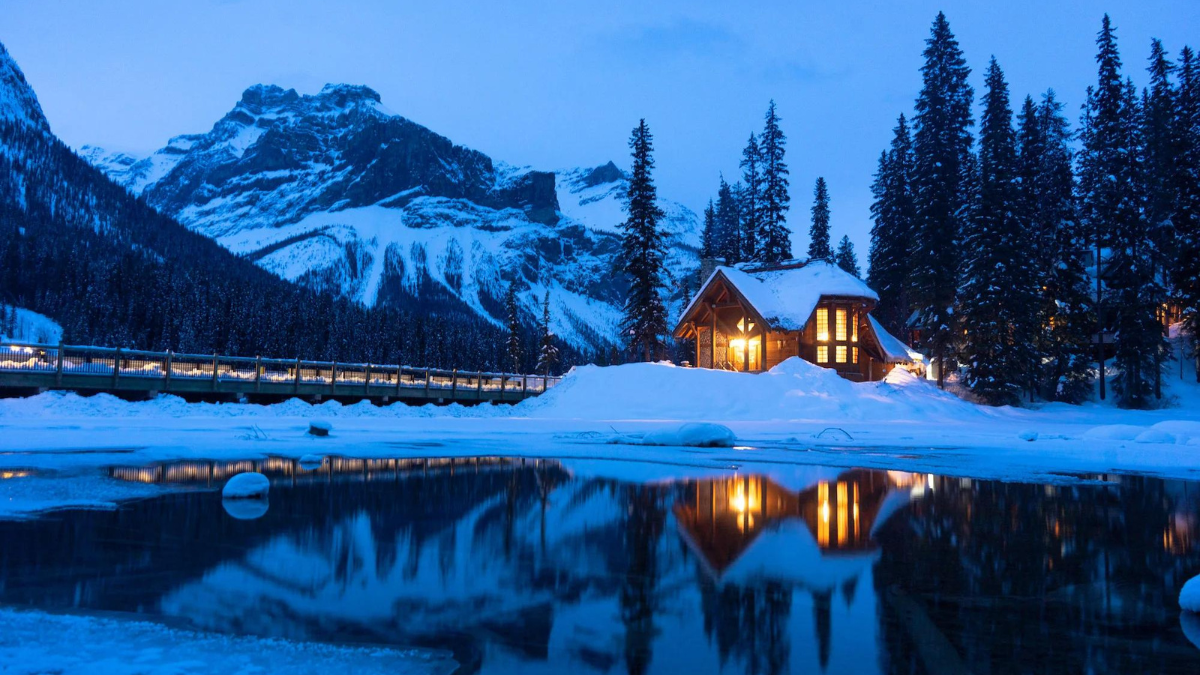
Exploring the Blue Hour
The “blue hour” is a brief period before sunrise and after sunset when the sky takes on a serene, cool blue hue. This enchanting light pairs beautifully with cityscapes, creating a contrast with the warm, artificial lights of urban areas.
Embracing Golden Hour Photography
The “golden hour” is a photographer’s dream come true. It unfolds during the hour just after sunrise and just before sunset, bathing everything in a soft, warm glow. This ethereal light enhances human features and brings out the magic in any scene.
Shooting in Harsh Midday Light
Around noon, the sun is at its zenith, casting strong, unforgiving shadows. While many photographers avoid midday shoots, it’s also an opportunity to experiment with bold contrasts and dramatic effects.
7. Techniques for Different Lighting Conditions
Backlighting Your Subject
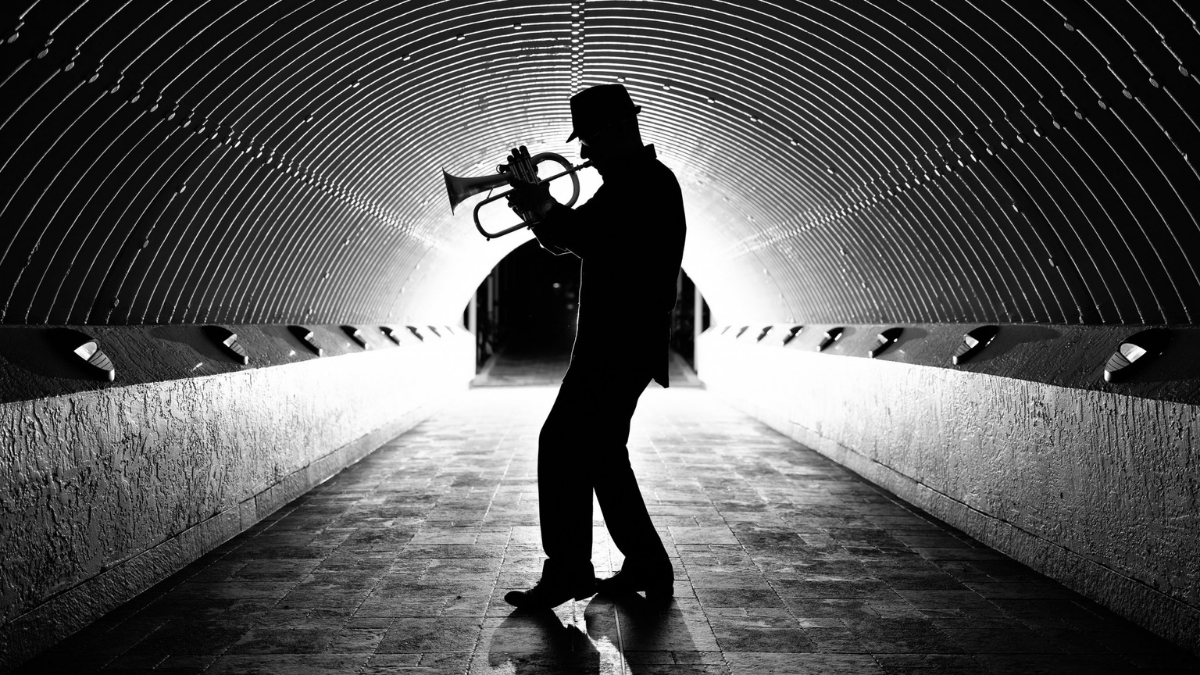
Backlighting is a technique where you position your subject with the primary light source behind them, typically the sun. This technique often results in lens flare and creates a dreamy, ethereal effect, bathing your subject in a soft, radiant glow. Experiment with angles to achieve your desired look.
Side lighting Your Subject
Side lighting involves placing your subject at a 90-degree angle to the sun. This approach illuminates one side of your subject while casting the other side in shadow, emphasizing shape and form. To soften the harsh shadows, consider using a reflector on the shadowed side.
Heading Indoors for Beautiful Window Light
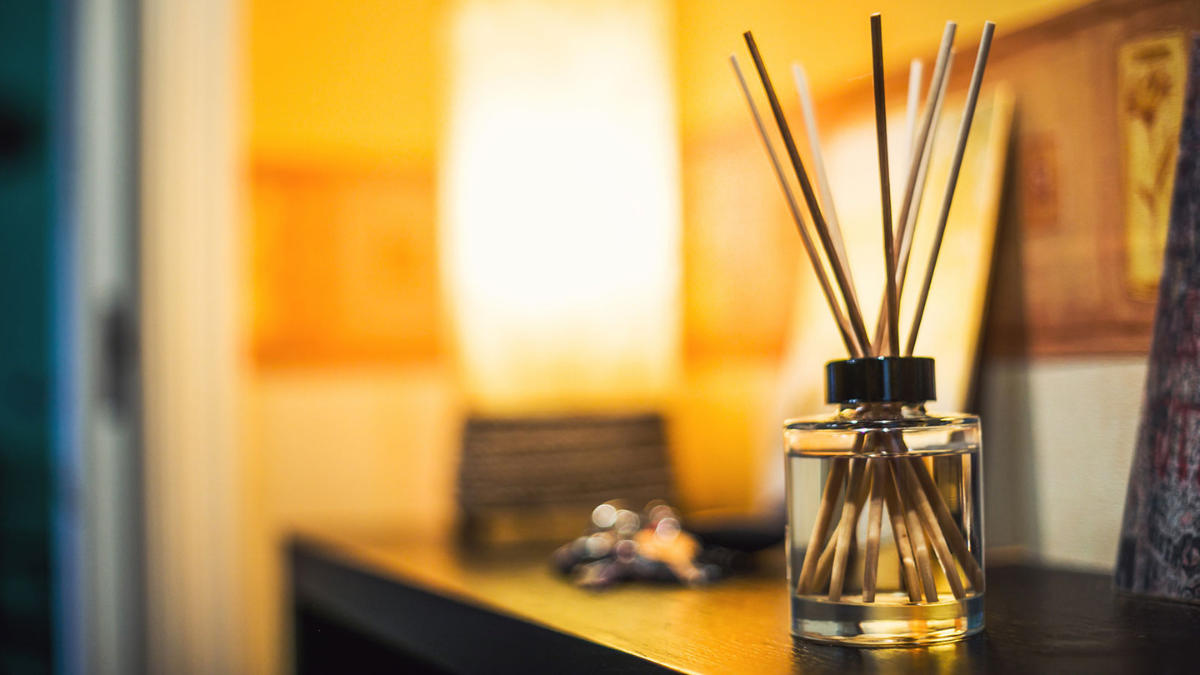
Indoor natural light photography offers a different set of challenges and opportunities. When positioning your subject near a window, experiment with the distance and angle. Closer to the window, you’ll get softer light, while moving farther away introduces more shadow.
Pro Tip: When shooting indoors with natural light, remember to turn off overhead lights or lamps to maintain consistent lighting temperatures and avoid white balance issues during post-processing.
8. Modifying Natural Light
Changing Natural Light
Sometimes, the available light may not be ideal for your creative vision. In such situations, you have an arsenal of tools at your disposal to reshape and manipulate the light.
Using Reflectors
Reflectors are essential tools for photographers. They bounce light back onto your subject, softening shadows and enhancing overall illumination. You can find reflectors designed for photography online or at local stores, but don’t underestimate the power of environmental reflectors like white walls, sandy shores, or even a photographer’s white shirt.
Employing Diffusers
Diffusers are semi-transparent sheets that filter harsh sunlight, transforming it into a soft, even light. Placing a diffuser between the sun and your subject, closer to your subject for a smoother effect, can be a game-changer. While you can purchase diffusers, improvised options like using sheets or fabrics also work wonders.
9. Leveraging Weather for Unique Shots
Using the Weather to Your Advantage
Don’t let unfavourable weather deter you from capturing breath-taking photographs. In fact, inclement weather can add a layer of drama and uniqueness to your shots. Embrace the challenge and seize the opportunity.
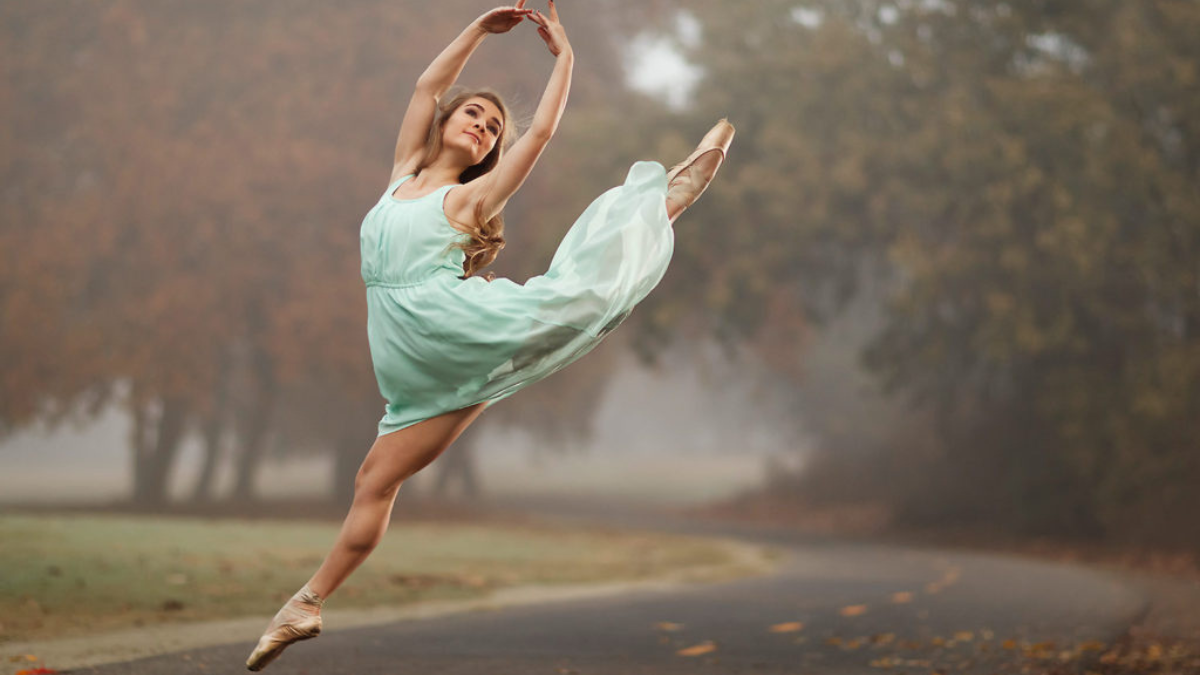
Misty Moments: Misty conditions can create an otherworldly, dreamlike ambiance. Capture the ethereal beauty of mist and fog, turning ordinary scenes into mystical landscapes.
Raindrop Elegance: Raindrops glistening on petals or windows can add a touch of elegance and romance to your photos. Experiment with close-ups and reflections to create captivating compositions.
Overcast Exploration: Overcast skies act as a giant diffuser, providing soft, even lighting. This weather condition is perfect for outdoor portraits as it eliminates harsh shadows and minimizes squinting.
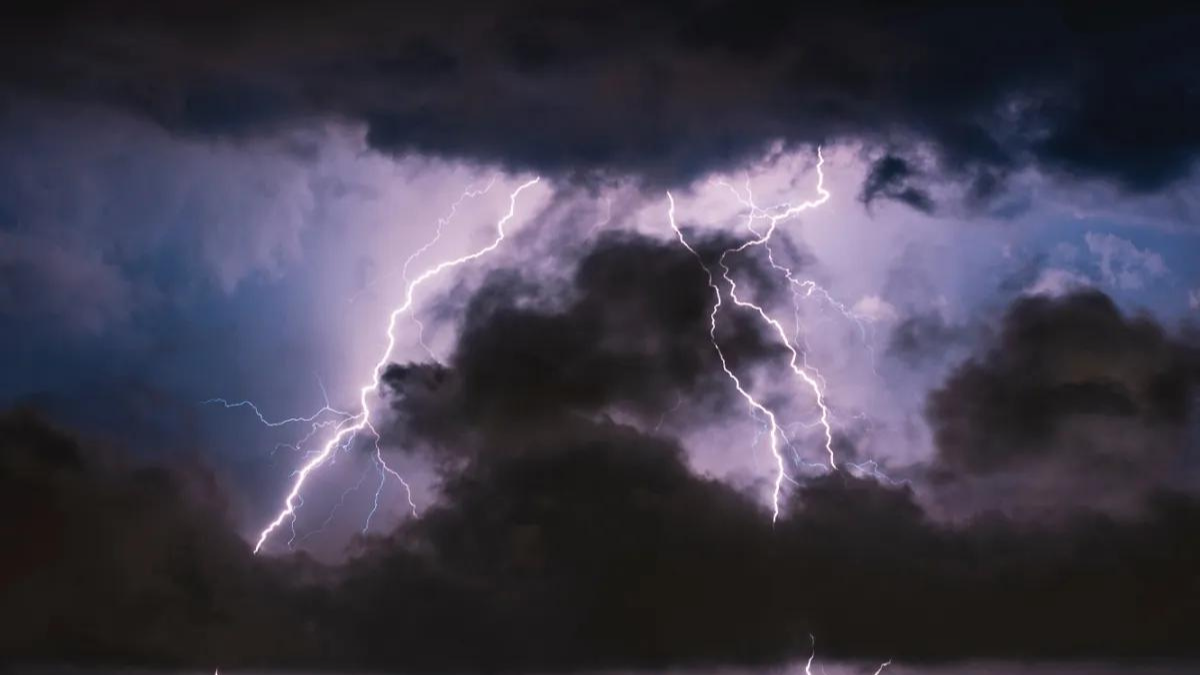
Stormy Drama: Stormy weather with dramatic clouds and lightning can yield captivating shots. Use fast shutter speeds to freeze lightning bolts or slow them down to capture their electrifying paths.
10. Perfecting the Timing
The Magic of the Golden Hour
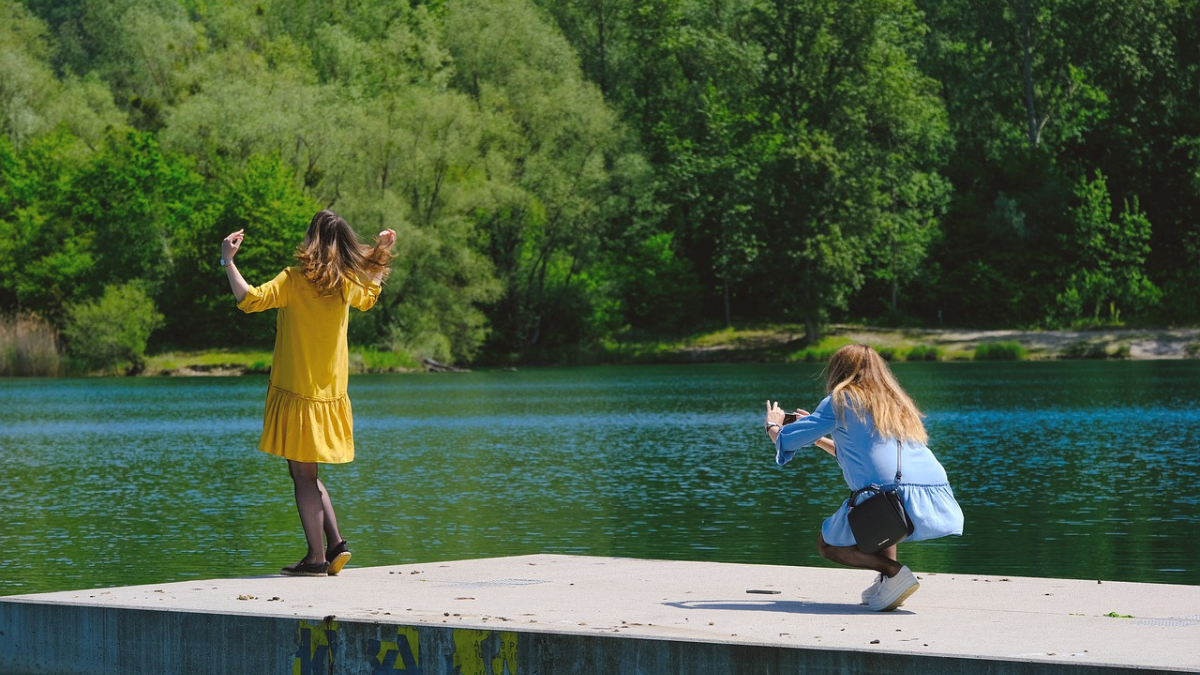
When capturing portraits using natural light, it’s essential to avoid harsh, direct sunlight whenever possible. The essence of natural light photography is rooted in soft, flattering light, which is most abundant during the “magic” or “golden” hour. This period typically occurs about an hour before sunrise and an hour after sunset. During these precious moments, the sun hangs low on the horizon, casting long, gentle shadows, and bathing everything in a warm, golden glow. The result is a soft, diffused light that complements your subjects, creating an enchanting atmosphere.
Transitioning to Indoor Shooting
Indoor photography with natural light can yield stunning results when executed correctly. Positioning your model in relation to a window becomes paramount. Experiment with the proximity and angle to the window, adjusting to achieve your desired level of drama and shadow.
– A smaller window will allow less light, necessitating your model to be closer for adequate illumination.
– Conversely, a larger window provides abundant light, allowing your model to stand farther away. However, you can always adapt these distances to manipulate the shadows to your advantage.
Conclusion
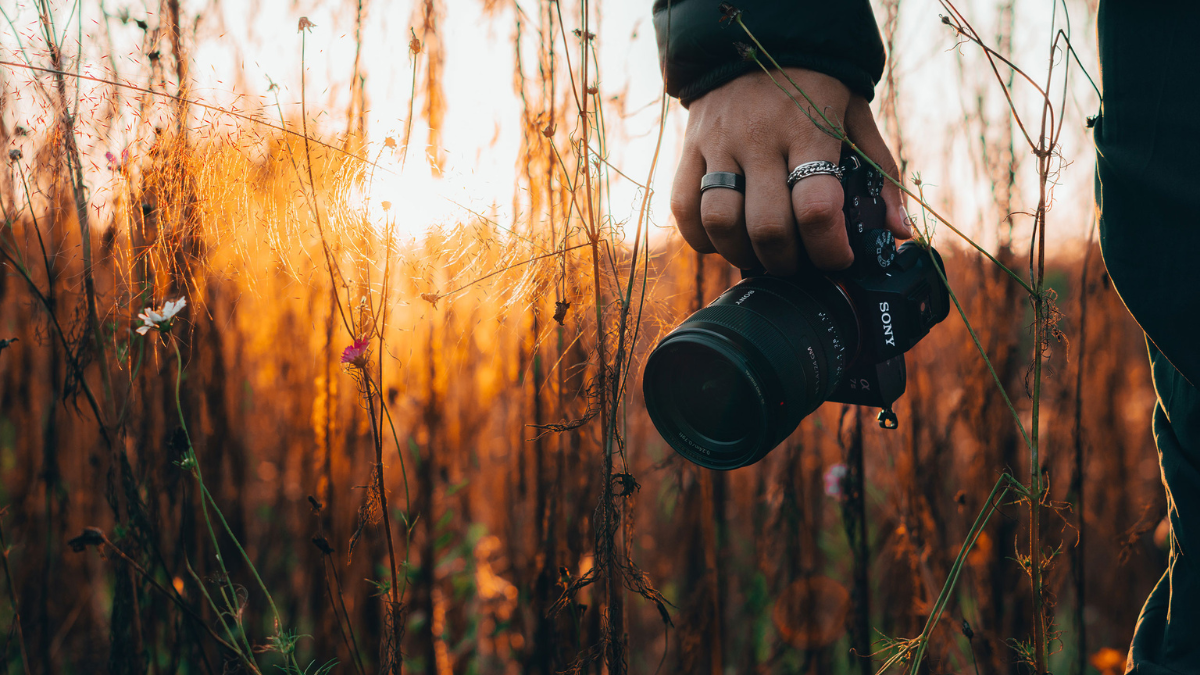
Mastering the art of natural light photography is a journey of discovery, a path that leads you to the essence of light and shadows. In this voyage, you’ll learn to converse with the sun, to orchestrate the dance of illumination and darkness. Your camera becomes your instrument, and each frame you capture is a note in the symphony of visuals you compose.
In conclusion, natural light is more than just a tool for photographers; it’s a storyteller, a mood creator, and a painter of emotions. Remember, in the realm of natural light, your light source is stationary—there are no adjustable light stands, no power settings to tweak. Instead, you must manoeuvre your subject in relation to the light source and, if necessary, adjust your own position.
As you embark on your natural light photography journey, embrace the magic of the golden hour, the allure of misty mornings, and the drama of stormy skies. Let your camera become an extension of your vision, and may each click of the shutter unveil a new facet of the world, bathed in the gentle caress of natural light.

