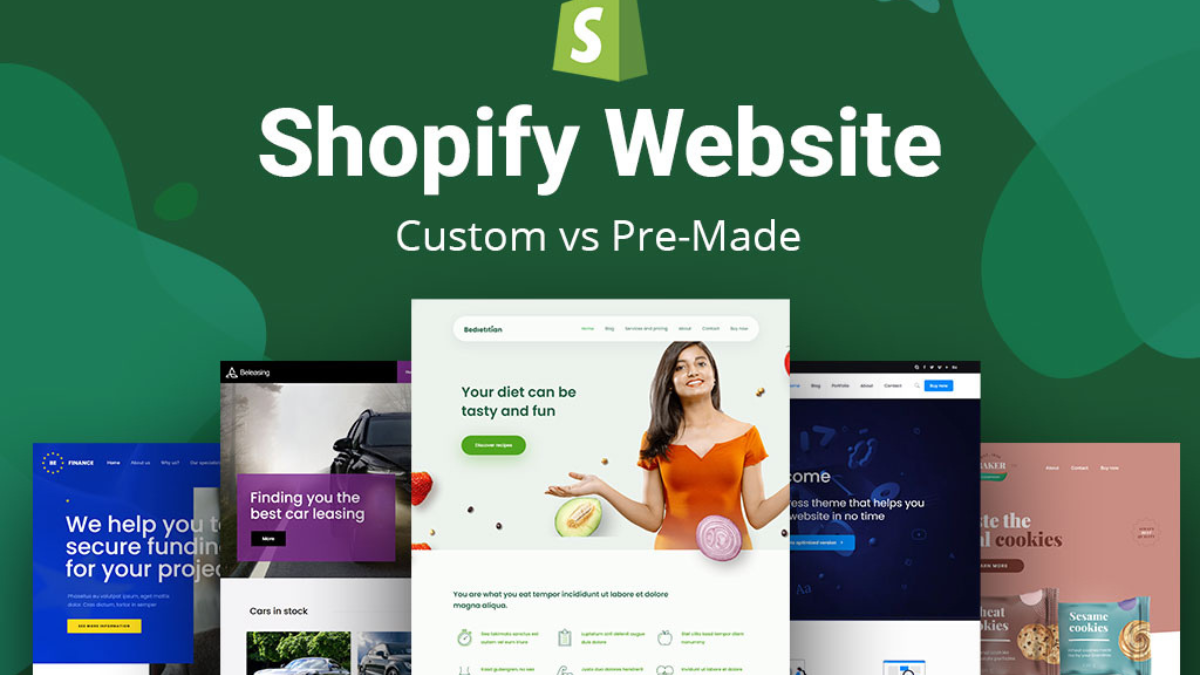
Beginning an internet based store is an interesting endeavor, and Shopify has made it more straightforward than any time in recent memory to carry your business to the computerized world. While Shopify offers many subjects to browse, making a remarkable and customized store can separate you from the opposition. In this exhaustive aide, we will walk you through the most common way of setting up a Shopify store with custom topics, guaranteeing your store looks proficient and meets your image’s extraordinary necessities.
Step 1: Pursue Shopify
To start your Shopify venture, visit their site (www.shopify.com) and pursue a record. You can begin with a 14-day free preliminary to get to know the stage prior to focusing on a paid arrangement. Whenever you’ve joined, you’ll be incited to set up your store by giving essential subtleties like your store name, email, and secret phrase.

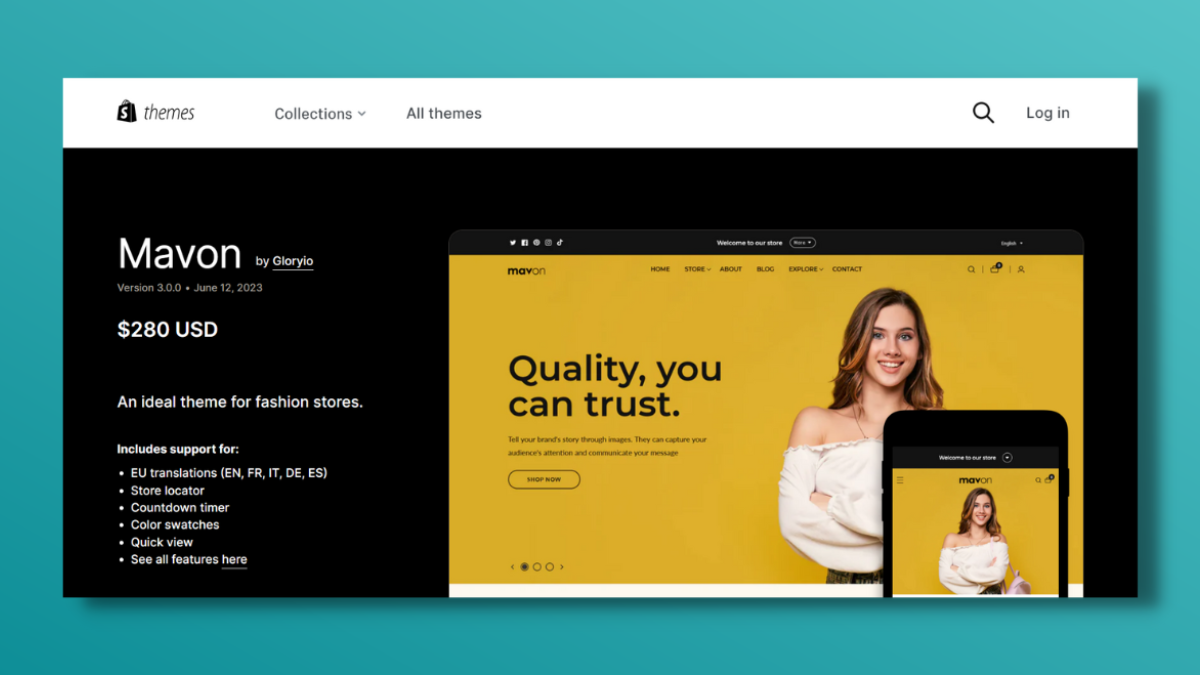
Step 2: Select a Theme
That Can Be Customized After setting up your store, you will be taken to the Shopify dashboard. From here, click on “Online Store” in the left-hand menu and afterward select “Subjects.” Peruse the Shopify subject store and pick a topic that lines up with your image’s personality and style. Search for a subject that offers a lot of customization choices, as this will permit you to make a novel search for your store.
Step 3: Introduce and Tweak Your Topic
Whenever you’ve picked your subject, click on the “Add” button to introduce it. To begin customizing the appearance of your store, click the “Customize” button after it has been installed. Here, you can modify all that from varieties and textual styles to header and footer segments. Take as much time as is needed to explore different avenues regarding various choices until you accomplish a plan that reverberates with your image.
Step 4: Transfer Your Logo and Pictures
To make your store really yours, transfer your logo and great item pictures. Your logo ought to be clear and eye-getting, addressing your image’s personality. Customers can better visualize your products and get a professional impression from high-quality product images. Shopify permits you to enhance pictures for quicker stacking times, so guarantee your pictures are properly measured without compromising quality.

Step 5: Arrange Your Item Inventory
Then, now is the right time to add your items to the store. In the Shopify dashboard, click on “Items” and afterward “Add item.” Fill in the essential subtleties, for example, item name, portrayal, cost, and stock. You can likewise add item labels and classes to make it simpler for clients to find what they’re searching for.
Step 6: Set Up Instalments and Delivery Choices
To begin tolerating installments, explore to “Settings” and afterward “Installments.” Shopify coordinates with different installment doors, like PayPal and Stripe, permitting clients to make secure exchanges. Select the installment choices that suit your business, and make sure to test them to guarantee everything works without a hitch.
For transportation, go to “Settings” and afterward “Delivery.” Set up delivery zones and rates in view of your items’ weight, size, and objective. Think about offering free transportation or level rate choices to draw in additional clients.
Step 7: Introduce Fundamental Applications
Shopify’s Application Store offers plenty of applications to improve your store’s usefulness. From web-based entertainment mix to email showcasing devices, investigate the accessible applications to find those that line up with your business needs. Dropshipping platform Oberlo, email marketing platform Mailchimp, and customer review platform Yotpo are all well-known apps.
Step 8: Guarantee Portable Responsiveness
In the present portable driven world, having a versatile responsive store is significant. Shopify subjects are intended to be dynamic, yet it’s fundamental for review your store on various gadgets to guarantee an ideal client experience. Clients ought to have the option to explore and make buys flawlessly on both work areas and cell phones.
Step 9: Test and Send off Your Store
Prior to sending off your store to people in general, completely test all angles, including the checkout cycle, installment choices, and responsiveness. Welcome companions or family to peruse your store and give criticism. When you’re sure everything is all together, now is the ideal time to send off your store and begin connecting with possible clients.
Step 10: Screen and Enhance Execution
Subsequent to sending off your store, screen its presentation routinely. Shopify’s investigation apparatuses give important experiences into your store’s traffic, deals, and client conduct. Utilize this information to recognize regions for development and make fundamental changes. Ceaselessly enhance your store to guarantee a consistent shopping experience for your clients.
End
Setting up a Shopify store with custom subjects permits you to make a special and expert internet shopping objective for your clients. You can easily design and launch your store by following this step-by-step guide, giving your customers a seamless and customized experience. Keep in mind, progress in the web based business world requires consistent improvement, so consistently watch out for client criticism and market patterns to remain in front of the opposition. Cheerful selling!


